
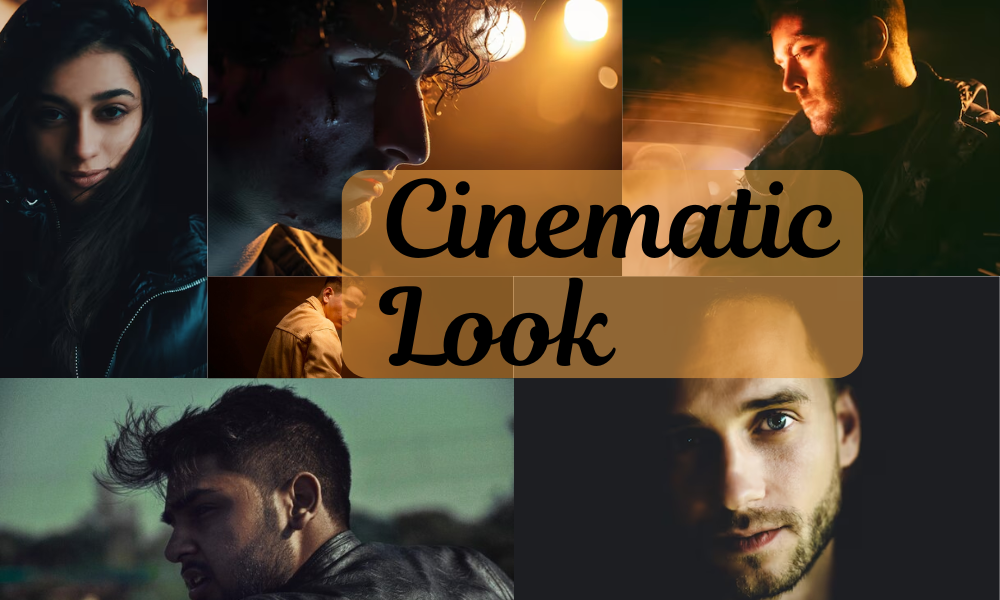
How to Create Cinematic Looks in Your Videos with Simple Editing Techniques
Introduction
It is very easy to create these cinematic looks in your videos with just some very simple editing techniques. It does not take expensive gear nor Hollywood-level software to make an outstanding manipulation in your video footage and transform it into a visually stunning masterpiece that gives you the look of professional films. This guide wants to focus furthermore on some techniques and tools to enhance your videos with that unique cinematic touch. Cinematic Look Explained.

Understanding the Cinematic Look
First, let’s understand the fact that there are elements within a film that truly give a video a very cinematic look to it. Some of the major attributes of cinematic visuals are:
- Aspect Ratio – Generally, widescreen aspect ratios, mostly between 2.35:1-2.39:1, show off much more filmic quality within a video.
- Color Grading – A definite color tone, as in the case of your video, can create mood and emotion.
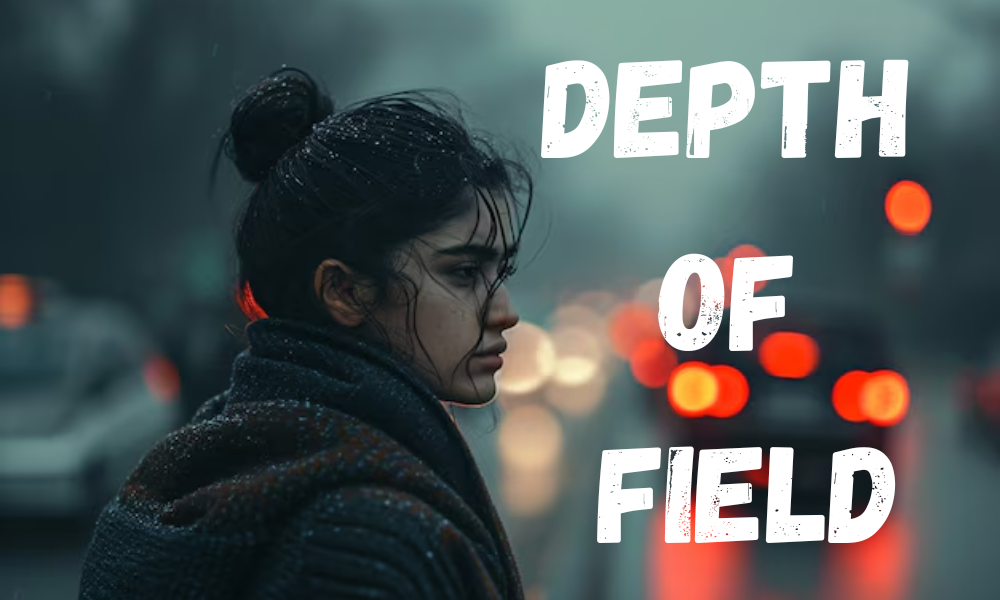
- Shallow Depth of Field – Blurred backgrounds to make the subject stand out is also beneficial since it gives that visually professional, complete element.
- Smooth Camera Movement – Cinematic shots involve stabilizers, slow movements, and professional framing.
- Lighting and Shadows – Natural or controlled lighting will quite impact on the degree of cinemacity.
- Frame Rate and Motion Blur – 24fps is the standard for cinematic motion. Controlled motion blur enhances the reality.
1. Choosing the Right Aspect Ratio
The aspect ratio of a video creates a strong cinematic effect. The film world typically presents a wide variety of aspects-for example, 2.35:1 or 2.39:1-giving the viewer the immersive experience that looks so much more professional and engaging. Alternatively, most of the online videos, especially on the YouTube platform and television, generally follow an aspect ratio of 16:9; a worldwide standard for modern screens.
If you’re after that movie quality for your shots, then a good thing to consider during editing is cropping your footage to a widescreen aspect ratio. One way is letterboxing (black bars) on the top and bottom of your footage; the other way is wide framing as you shoot. Some cameras have an in-camera function for setting up a cinematic aspect ratio; if yours doesn’t, Editing programs like Adobe Premiere Pro and DaVinci Resolve or even Final Cut Pro will let you crop your footage with great ease.
Employing a cinematic aspect allows for a more finer and dramatic presentation, a guiding of focus on the audience, and the enhancing of storytelling. With this in mind, by shot designing with care and keeping this style valid throughout, you can achieve a professional, cinematic feel that fully engages its audience and elevates your content.

2. Mastering Color Grading for a Cinematic Video
It is an important phase in the filmmaking process through which the visual richness in the video is highly enhanced to give it a cinematic appeal. And it defines the mood, atmosphere, and emotional impact of whether the scenes will touch your heart or not.
Basic Steps in Color Grading:
- Color Correction-The all-important stage before any creative invention of grading. The next part displays how to adjust well with exposure, contrast, and white balance to havemost well-balanced image.
- Application of LUTs– LUTs are the presets that would instantly change your color tone to resemble the look of Hollywood films. Quite solid for grading it.
- Adjusting Saturation and Contrast– Slightly enrich colors while keeping them under an unexcelled manner so that they won’t face any danger of possibly ill saturation.
- Create Cinematic Tone-The really famous are teal & orange looks which nicely complement skin tones and matters of contrast in the backgrounds or under faded dark tones for a dramatic, moody touch.

Highest Software for Color Grading:
- DaVinci Resolve– Industry standard professional color grader with power tools for precision control.
- Adobe Premiere Pro – The very intuitive way to grade footage with the help of Lumetri Color panel.
- Final Cut Pro – Color Wheels and LUTs Black support both make grading possible for Mac users.
3. Creating Depth with Depth of Field
As a more shallow depth-of-field effect really brings subjects out from the background, it gives your videos a more professional, cinematic touch. This can traditionally be replicated using camera settings, such as wide aperture-low f stop shooting and longer focal lengths. Without that, if your footage does not show it, you can reconvert that in an array of editing techniques.
Post Production Background Blurring
You also have the option of post-editing if you failed to get the depth of field in-camera:
- Adobe After Effects: Apply Camera Lens Blur as a Depth Map to create selectivity blur in the background and maintain sharpness in your subject.
- Premiere Pro: Gaussian Blur is applied to the duplicated layers and it will be masked to keep the object in focus and soften the background.
- DaVinci Resolve: It detects the background automatically and blurs it.
These are some effective techniques that will help you to add the required cinematic depth of field to your video, giving it a more professional look.
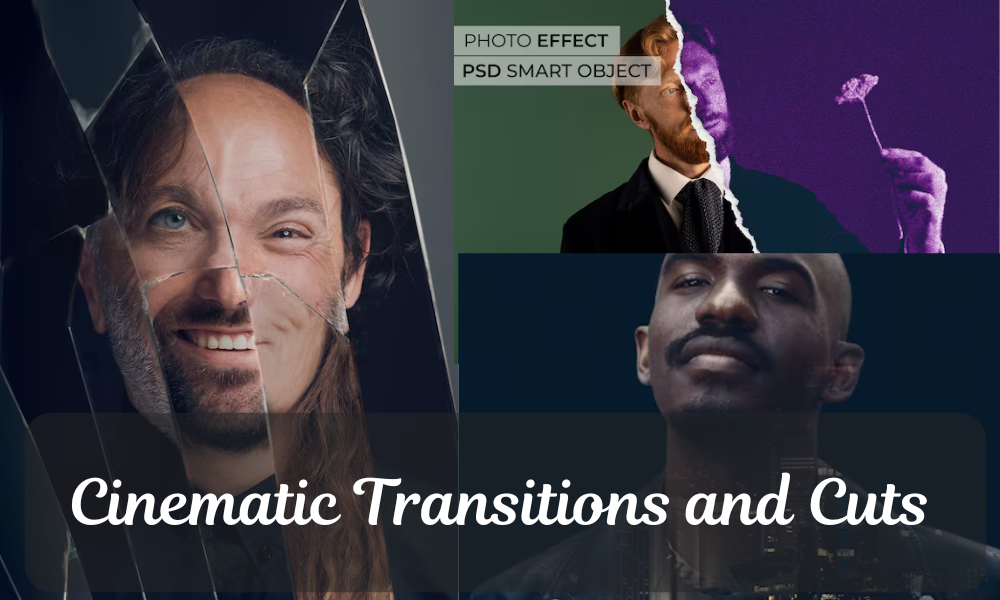
4. Using Cinematic Transitions and Cuts
Cinematic videos do not only comprise visuals but storytelling. Smooth transitions and well-timed cuts ensure a seamless flow, engage factors, and guide the audience through the tale. Choosing the right transition style l
Essential Cinematic Cuts and Transitions:
- Straight Cut-Moves from one shot to another with no effects whatsoever; a simple and natural transition is the characteristic of a classical cut. It is the most used cut for establishing realism.
- L-Cut & J-Cut-creates a smooth transition with sound into the next scene, which is either heard before or after the change in visual.
- Match Cut-Keeps the viewer interested in that crossfade and continuity-when something in one shot is made to match another shot, either in movement or visual match.
- Dissolves & Fades-Usually dissolve fades one scene into another, typically applying time transitions or emotional storytelling, while fade-in for opening the scene and fade-out for finishing it.
- Whip Pan Transition– A fast camera movement blurs the frame from one shot to another and is sometimes interspersed with action sequences to add strength to the scenes.
- Crossfade & Cross Dissolve– Basically blends jumping into and out of an effect and is excellent for use in dream sequences or gentle scene changes.
Jump Cuts-An intentional quick-cut method to condense time or underline changes in action, generally in a highly-interactive narrative aesthetic.
Best Practices for Work of Cinematic Transitions:
- Transitions must be kept to a minimum; too many will eventually take the viewer out of the story.
- Transitions match the tone of the scene: slow fades for emotional moments and fast cuts for action.
- Transitions move on the beat of the music in order to further synchronize and add texture.
- Adding sound effects during the transition will add depth and warmth to lend punch.
Through the goodness of cinematic transitions and cuts, professional-looking videos can be crafted that remain engaged in the viewer’s mind, easing beautifully and seamlessly.
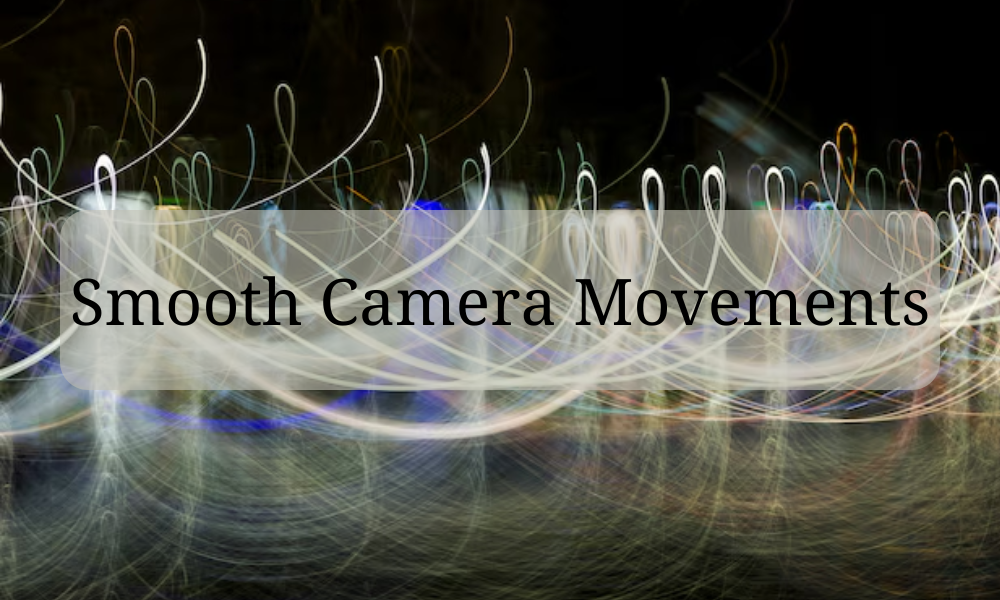
5. Achieving Smooth Camera Movements in Post-Production
If you couldn’t really keep the camera steady, don’t worry! Many editing software today comes with stabilization tools, which simulate smooth cinematic movements, abating unwanted shakiness while improving the flow of video shots. Stabilization gives a more professional look to your footage so that the viewer focuses more on the subject rather than distractions caused by camera shake.
Stabilization techniques include:
- Adobe Premiere Pro: Using the Warp Stabilizer effect that will analyze the footage and smooth it out.
- DaVinci Resolve: Using the built-in stabilization tool which is to be found under the Inspector panel for very fine adjustment.
- SmoothCam can be enabled within the Inspector panel to minimize sudden movements in Final Cut Pro.
For added realism, gentle motion tracking may help keep the viewers’ eye on the subject while giving a subtle motion quality to the background. This is typically used to simulate handheld-with-dolly-shot-like style. If you want to replicate seemingly professional tracking shots, you can also add some digital camera moves such as very slow pans, zoom-ins, or parallax effects hello tweening with keyframes in whatever editing software you’re using.
This ensures a very controlled, cinematic flow, even if you shot that scene with a static camera or handheld style.Smooth camera movement would demand a more professional touch in your video, with much more engaged and immersed scenes.
However, though in-camera stabilization is always better, the other way in which the use of post-production techniques could help enhance footage that wasn’t stable in the first place is priceless..
6. Enhancing Sound Design for a Cinematic Feel
It is, perhaps, one of the most factors that create a cinematic video: sound. Space-shaping sound, however, adds depth to the storytelling.
Improvement Steps in Sound Design:
- SFX into High Quality – Apply high-quality sound effects from audio libraries, including Epidemic Sound, Artlist, and Freesound.
- Background Music Scores Accords – Music can really add great moods and emotional sensations to video content.
- Layering of Sounds – Place ambient noise, combine primary sounds, and mix music.
- Transitions and Edits in Audio Similarity – Use crossfade, fade in/out, and smooth transition to make possible transferring blended audio fader through scenes into audio smooth transitions.
- Dynamic audio levels – Adjust audio levels; make sure dialogue clearly audible; background music/skits should in no way skull-crush or bless any kind of deafening, daring.
- Space Effects in Sounds – Apply in spatial sounds in stereo panning and reverb.
- Dialogues Purifying – Vocal tracks are cleaned with EQ-ing, compression, and noise reduction.
Indeed immersive sound design connects most spectators with its on-screen drama, making video viewership quite enrapturing yet professional..

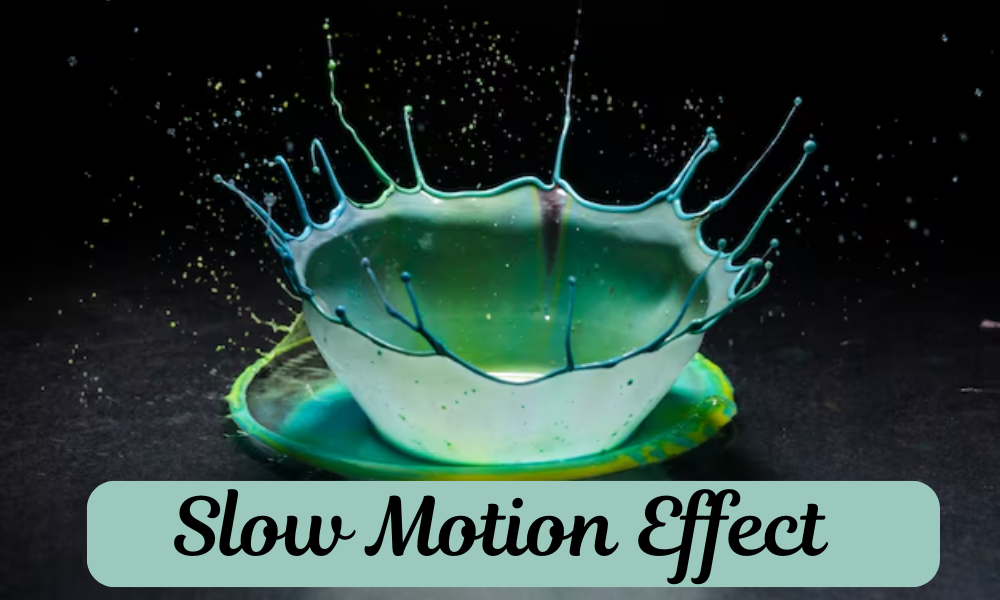
7. Using Slow Motion and Speed Ramping
This can set up drama and importance to a scene, give smoothness and immerse into movement in the scene. Continuous speed changes in ramping encourage different playback speeds to develop their dynamic, mostly helping with action and storytelling.
How To Use Slow Motion and Speed Ramping:
- Adobe Premiere Pro: In time remapping, right-click the clip, select Speed/Duration from the menu, and animate keyframes to achieve a smooth motion speed change.
- Final Cut Pro: Use Retime for smooth slowdowns and fast speed-ups.
- DaVinci Resolve: Refine speed curves in the inspector panel to get initial timing control over the motion.
Always shoot slow motion in higher frame rates (60 fps or 120 fps) and play them all in 24 frames per second as a cinematic smoothness to great effect. Good interpolation methods (e.g., Optical Flow in Premiere Pro, installation of Twixtor plugins for slacker footage) can alleviate choppy footage. But speed ramping can add more energy to an action scene, let it be heat buildup towards the impact, or a slow crippling down for more emotional effect.
8. Adding Cinematic Titles and Text
Titles and texts have a crucial role in setting up the tone of the video. Good typography can bring more professionalism to the video and give an impressive image too.
Cinematic Title Tips:
- Choose clean, modern sans Serif fonts such as Helvetica, Bebas Neue, or Gotham for sleek, modern professionalism.
- Animate minimally – Do not overdo motion effects; however, smooth fades, slight zooms, or subtle tracking adjustments will work well.
- Strategic placement of text – Center titles for emphasis, use lower-thirds for names and description styling.
- Contrast for Readability- contrast high enough for the title to show on top of colored backgrounds, but not too stark to create discomfort to the viewer due to very high contrast.
Cinematic title presets for Film Strip and animation effects can be found in a wide variety of editing software packages such as Adobe Premiere Pro, Final Cut Pro, and After Effects. The elegance of your text overlays can also be enhanced with motion blur, opacity fades, and slight scaling..

9. Exporting for the Best Cinematic Quality
It can be amazing to look at your footage in editing; however, its whole value can be lost if wrong export settings are applied. Careful selection of the format, resolution, and bitrate can help in keeping the cinematic quality.
Cinematic Title Tips:
- Format: H.264 for normal delivery; ProRes for the utmost quality.
- Resolution: Export at 4K (3840×2160) for the best quality, but 1080p (1920×1080) is also a decent choice if lower file sizes are what you’re after without sacrificing too much in the quality department.
- Bitrate: 50Mbps for 4K, 20Mbps for 1080p, setting for max visual quality without much compression artifacts.
- Frame Rate: 24fps, as standard, for a very natural, nice-looking cinematic motion.
Then apply- Use VBR (Variable Bitrate), two-pass encoding for smoother playback and maximum optimization on file size. Array HDR content should be exported in Rec. 709 or Rec. 2020 color space for color accuracy retention. Compression should be fine for a tidy finish to whichever video presentation you’re after, be it YouTube, Vimeo, or WoE major screening platform.

Want to achieve stunning cinematic looks in your videos? Learn simple editing techniques to transform your footage today.
Conclusion
Cinematic looks cannot be achieved only with expensive equipment but are learnt through mastering basic techniques of filmmaking and editing methods. Key elements include aspect ratio, grading, smooth transitions, and sound design. Controlled lighting, smooth camera movement, and effective editing usually contribute to the illusion of “cinematography.” The inducing of depth of field, an aspect of slow motion, and the placement of titles within a beautiful aesthetic make it even richer. Occupying considerable post-production efforts might involve the art of stabilization and putting down the appropriate export settings. So much more than aesthetics, however, when it speaks of storytelling, it evokes emotion where audience becomes connected to your premise. Practicing these techniques can also turn the normal type of footage into possibly what can be taken video recording really. Whether beginners or at the top of their game, there is always room to experiment with detail to create an original cinematic style. As you continue to work on your craft, soon enough, your videos will be ones that audiences crave. Let the audience take the actual shot by camcording cinematography magic for the first time.