
How to Use Effects and Filters to Enhance Your Videos
Introduction
Cool videos can be made today because many video editing software have special effects and filters. If you are a content creator or filmmaker or are just trying your hands at video editing, if you use special effects wisely, they can make the difference between a good video and a great one. This article focuses on the special effects and filters that would benefit the way your videos would play out in an engaging manner.

Understanding Special Effects in Video Editing
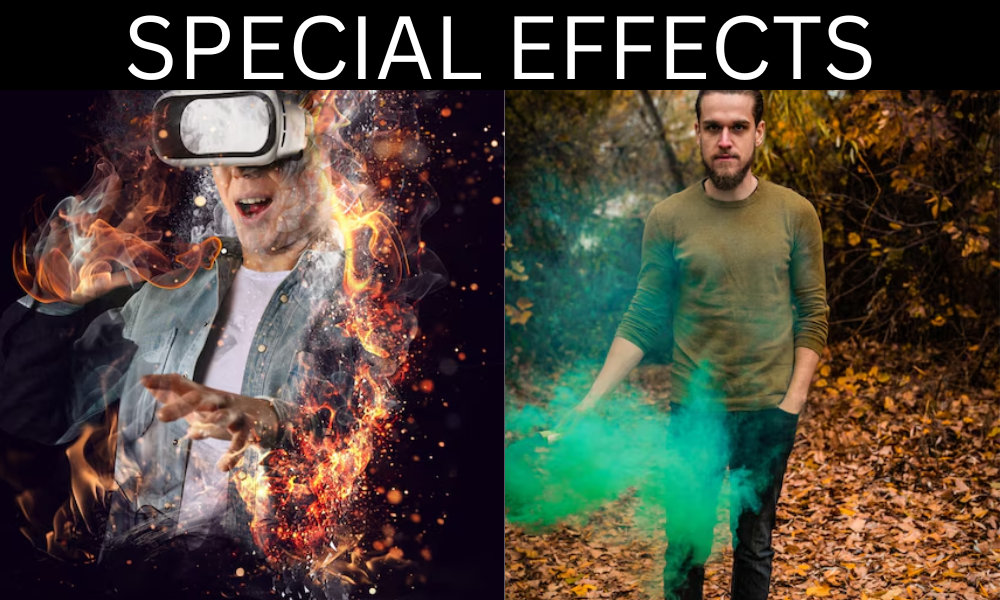
Special effects in video editing are simply those processes which are done in manipulating the visual functions in order to introduce certain creative elements or enhance the aesthetics of the entire video. These effects could be either practical, performed in-camera, or digital, added in post-processing.
Types of Special Effects
- Visual Effects: Any element created digitally and added to footage after the fact: explosions, CGI animations, or green screen compositing.
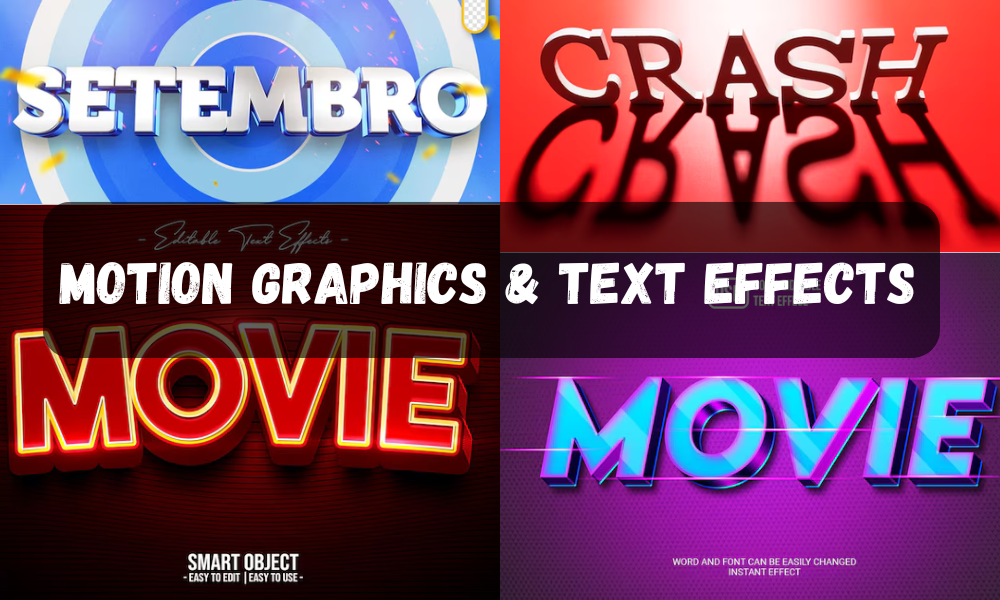
- Motion Graphics: Animated text, titles, lower thirds, and infographic elements.
- Color Effects: Filters, LUTs, and color grading to set mood and tone.
- Transitions: Effects to ease the most, smoothest link between two clips such as fade-in, cross dissolve, whip pan, etc.
- Distortion Effects: Warps, glitches, fisheye, or heat waves for a surreal look.
- Speed Effects: Slow motion, speed ramping, and time remapping.
- Light and Glow Effects: Lens flares, neon glows, or cinematic lighting enhancement.
Applying Filters for a Professional Look
Filters are adjustments made in order to modify color, tone and texture for stylistic purposes. They can change the feel and mood of a video clip in an instant without the need for extensive manual grading.
Common Filters
- Cinematic Filters: Filters inspired by Hollywood movies that introduce deep contrast and stylized tones.
- Black and White Filters: Excellent for storytelling with a classic or dramatic approach.
- Vintage or Retro Filters: Mimics an old-fashioned film aesthetic: dust, grain, sepia tones and slight fading.
- Vivid and HDR Filters: Helps increase the saturation of colors and make footage more vivid.
- The Cool and Warm Tone Filters: These either heat up the footage to give it a summery warmth or cool it down to a moody atmosphere.
- Beauty Filters or Skin-Smoothing Filters: These are commonly used in social media videos: evening skin tones and minimizing blemishes.
How to Use Special Effects to Enhance Your Videos
1. Adding Cinematic Color Grading
Color grading has become an indispensable aspect of videography. It refers to manipulating the atmosphere and tone of a scene through color, contrast, saturation, and exposure adjustments to realize an effective professional appearance.
Cinematic Color Grading Steps:

- Color Correction: right the shots by white balancing, exposure and contrast adjusting the footage before any creative application.
- Use LUTs (Look-Up Tables): with LUTs, one is sure of applying a particular color profile that matches the major films.
- Skin Tone Enhancement: Set the entire color but keep skin tones realistic.
- Highlight and Shadow Adjustments: Tweak blacks and lights and you control depth.
- Play around color theory: Example of color combinations that create great outdoor effects include teal and orange.
- Last but not least, tweak Contrast and Saturation levels: avoid as much as possible image betraying the saturation but show strong picture features.
- Finally, Film grain and texture: dry even subtle grain.
All scenes can have a consistent correspondence with standardized color grading.
Finest means of doing it is by using popular software such as Adobe Premiere Pro, DaVinci resolve, and Final Cut Pro. After mastering these techniques, you will surely have a beautiful professional video.
2. Using Green Screen and Compositing Effects
Green Screen technology allows creators to align visual elements that are overlaid on the backdrop with changed backgrounds. Scopes where green screen technology is utilized range from filmmaking to creating virtual sets to YouTube videos.

Steps to Using the Green Screen:
- Lighting: Shadow free and even lighting on the green screen is important for a good key.
- Recording: High-resolution footage provides greater detail in your keys.
- Editing: Perform chroma keying in After Effects, Premiere Pro, or DaVinci Resolve, depending on your flavor.
- Refining Edges and Spill Suppression: Color spill suppression, edge feathering, and blurring out objects for an easier composite.
- Blending to the Background: Lighting, shadows, and color grading ensure that the subjects match pretty well with the new background.
- Tracking and Masking: By specialising in all areas including dynamics, simply use the motion tracking function to organically blend effects.
- Visual Effects Integration: Integrating the subjects within particle effects, depth of field, and light wrap.
- Background Match Depth: Alter depth of field blur and color hues with respect to the subject in order to maximize the match.
The scope of green screen effects open to the imagination ranges from putting the actors into incredibly remote locations to creating a peerless sci-fi setting.
3. Incorporating Motion Graphics & Text Effects
With lower-thirds, callouts, and text in motion, the motion graphics can really enhance the storytelling experience.
Methods to Create Exquisite Motion Graphics:
- Make Keyframe Animation: Moving text and graphics within a few times.
- Apply Smooth Transition: Animations become disillusionment. Bounce-effects in and out, slide in and fade in.
- Use 3D Text Effects: Add depth and point of view with 3D typography.
- Match Animation Speed to Content: Fast-moving effects are effective in action movies as opposed to more slow blended transitions, which are more matched with cinematic styles.
- Make Use of Readymade Templates: The motion graphics templates incorporate easy-to-use templates from the motion graphics software itself. For instance, After Effects would help such a course.
- Animate Infographics: Enriching the viewing experience for data by using smooth transitions.
- Motion Track: Dynamically attach graphic content over a moving object in the footage.
- Add Subtle Animation Easing: Smooth out for end effect the keyframe movements.
Live Action is the great medium through which ideas can be expressed. However, the combination of all three media transforms the story into a motion picture. Then again, motion graphics really transform the otherwise dry spelling out of messages within short films by making the videos lively and thus more professional.
4. Adding Light and Glow Effects
For the importance of light and glow effects, they are there to simulate and recreate a cinematic ambience gracing beauty, dreams, and life.
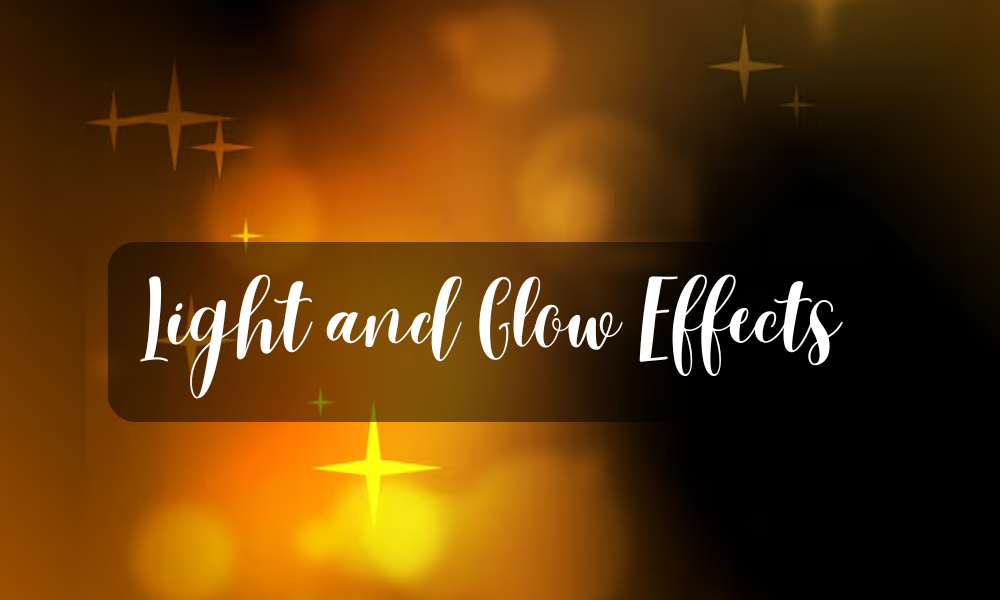
Applications:
- Lens Flare-includes the whole deal of loss and sun flare for realism.
- Glow Effects for Highlight-Draw visual attention to objects that reflect a natural warmth-such as neon wonders and magic.
- Light Rays: A dramatic display of sunbeams or fog atmosphere.
- Artificial for night: Light effects are applied to highlight footage which would otherwise be consumed by darkness.
- Intensity and Blend Modes- Can be adjusted to make it even more unrealistic through the changes in opacity and blending.
- Volumetric Lighting Simulation-God rays and light shafts help create excellent depth.
- Color gels/tints: Allow for modification of the lighting palette without calling attention to it.
- Consider adding dynamic lighting with a flicker: For-the natural variation and flicker really make the world present.
That’s how light and glow effects endow any creation with ambience and depth and allow one to experience it. Thus, the video is fascinating.
5. Using Transition Effects for Smooth Edits
Transitions facilitate the building of a smooth visual bridge between one clip and another for the flow and the storytelling. When executed correctly, transitions set the pace, which keeps the audience entertained.
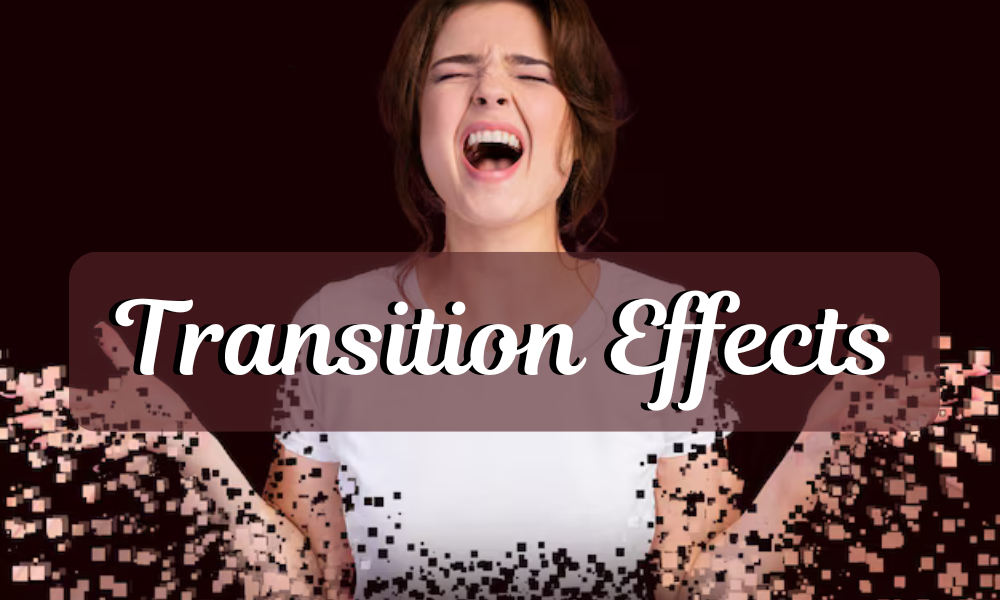
Types of Transitions
- Cut & Crossfade: Basic and commonplace transitions, the cut and crossfade usually hold the viewers’ focus well, naturally juxtaposed side by side.
- Dissolve & Fade: A very smooth and gentle, softening of extremes to merge within the new scene that works best for emotional statements.
- Swipe & Slide: Never shy about dynamos, these transitions bring kinetic energy into your edits.
- Zoom & Spin: High velocity transitions, scroll from one visual into a totally captivating, riveting experience.
- Match Cut: Helps to line up the similar elements across shots together so that it preserves continuity.
- Whip Pan: Very fast motion blur shifts, usually cut-action scenes.
- Best Practices for Effects on Transition
- Go with subtlety: Too much can come off poorly.
- Match transitions to story tone: Use slow fades for emotionally charged moments or quick cuts for action.
- Sync to music beats: It helps in creating rhythmic pacing.
- Use motion blur when required: It will create a cinematic flow from one shot to the next.
Having transitions in decent places prevents jarring cuts that add to viewing experience and give the content a more polished and immersing feel.
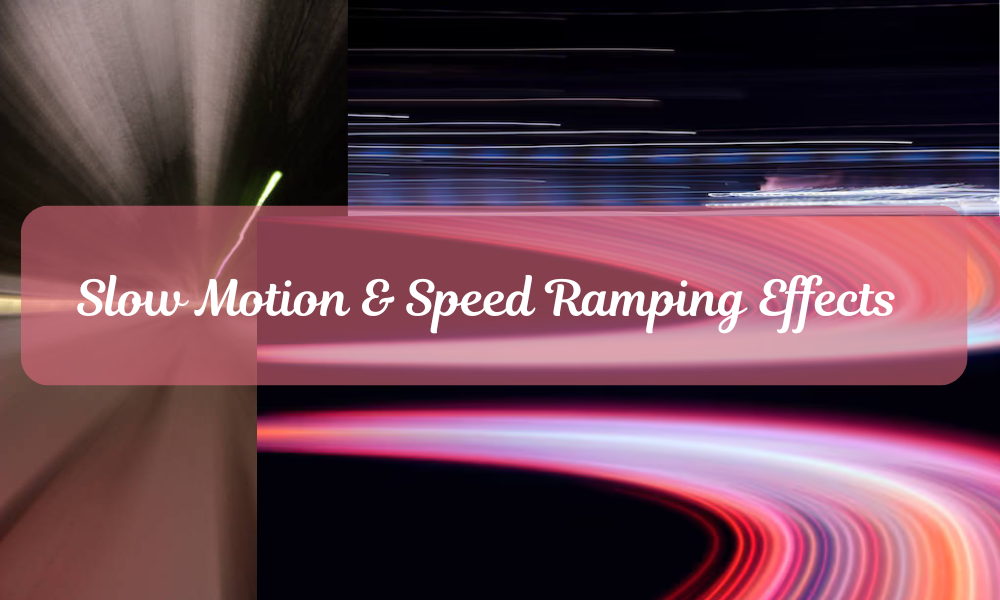
6. Creating Slow Motion & Speed Ramping Effects
Slow motion and speed ramping create dramatic moments that add so much tension and pacing to the art of storytelling itself. Both techniques serve to highlight key moments and bring some dynamism into the video sequences.
So how do you actually create slow-motion effects and speed-ramping?
- Shoot a High Frame Rate: For it to be effective as slow motion, you need to be shooting at 60 fps, 120 fps, or higher.
- Speed Ramp: Decrease speed or increase speed in a natural way, with ease of transition.
- Optical Flow & Frame Blending: Prevent the jitters that make standard footage look odd during slow-motion produces.
- Focus on Those Moments: Slow motion captures the emotions; speed ramping captures the actions.
- Hit It: Align the slow and speed changes to the drops in the tune.
- Top Software for Slow-Motion and Speed-Ramping:
- Adobe Premiere Pro: Time remapping doesn’t matter what your style is; speed changes will look smooth.
- Final Cut Pro: Subtle slow motion with good retime control.
- DaVinci Resolve: Speed curves for real cinematic-style transitions between different speeds.
All the techniques mentioned can ensure that your creations are lively enough to pull the audience’s emotions and undivided attention.
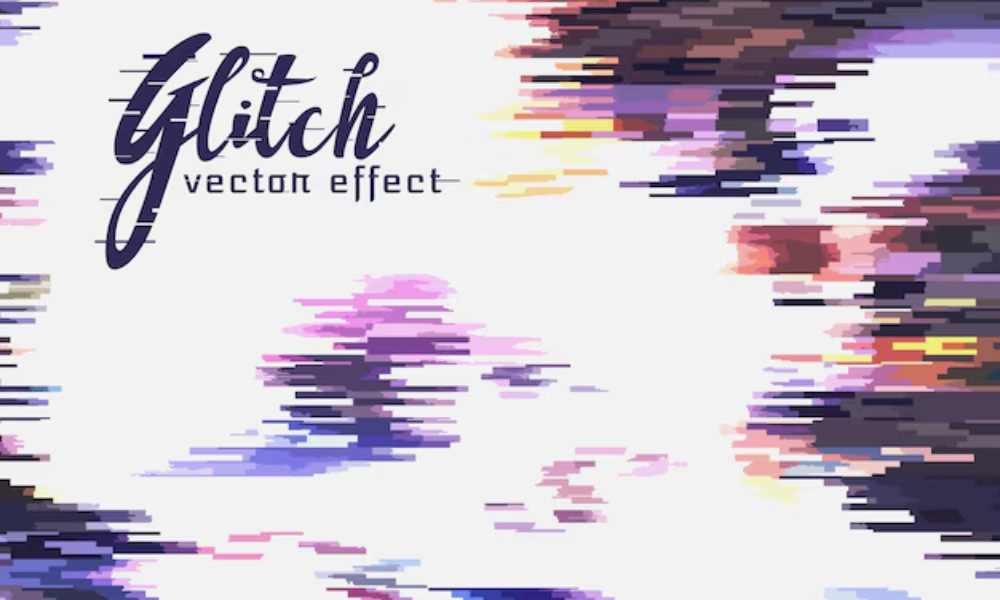
7. Using Distortion & Glitch Effects
These have been the mood makers and aesthetic enhancers throughout with future-retro insinuation through sound or techno stories glimmering with adrenaline.
The types of distortion effects are:
- Glitch: An aesthetic for pixilation and datamoshing
- Warp: Used as an aesthetic distortion, could be of fish-eye, bulge, or stretching distortion types.
- Chromatic Aberration: An edged-colored retro-sci-fi in feeling kind of distortion.
- Pixel Sorting: Create effects of digital smearing that generate a kind of abstracted-stylized environment.
- VHS and Analogue: old-school scan lines and grainy textured for a bit of nostalgia.
Distortion Effects Tips:
- Application: Overly using it would make it a distraction in the story.
- Match with Theme: Glitches would work great for anything techy or cyberpunk while warps can be on narrations for an artistic touch.
- Coping with Movement: Animation through keyframing should be mild so as to help in the realism of the effect.
- Layer Effects: Use distortions together with attractive light leaks, noise or color grading to achieve amazing results.
With moderate application, distortion effects will turn out to form a part of very dramatic visuals as well as help in storytelling in all your video projects.
8. Adding Audio Effects for a More Immersive Experience
Audio effects go a long way toward enhancing video quality and immersing the viewer into the scene. Good audio gives life, drama and engagement to any video content.

Audio Effects that Make the Grade
- Reverb-and-echo effects mimic spatial depth at varying degrees of thrill, creating the illusion of different environments.
- Sound Effects (SFX): Footsteps, wind, ambient roar, and cinematic hits.
- Voice processing manipulates EQ, compression, and noise reduction to deliver a clear voice track.
- Spatial audio and panning create the illusion of the real 3D movement of sound.
- Music scoring may strengthen the emotion of the scene-whether it feels suspenseful, uplifting, or dramatic.
Consider These Audio Tricks for Greater Effectiveness
- Layer sounds: mix ambient sound, dialogue, and background music to create more natural soundscapes.
- Dynamic-Range Adjustment: Make sure that dialogue is clear but not overbearing, while ambient background sounds support the character.
- Use professional SFX libraries. Epidemic Sound, Artlist, and Freesound are great quality providers of sound effects.
- Match sound cues to video clues: the success of the storytelling method increases with synchronization.
Controlling audio effects leads to a lush and immersive experience that captures the audience’s attention from beginning to end.
Best Practices When Using Special Effects
- Less Is More: If effects are added in excess, then such video can never be treated as professional.
- Theme Compatibility: Pick effects that go along with the tale and mood.
- Platform-Fit: Ensure effects run efficiently on mobiles, desktops, and TVs.
- Experiment And Learn: Try out different styles, presets, and combinations for your own style.
- Smooth Playback: When editing in high resolution, use proxy footage to avoid background lagging.
Avoid sterility in your comments! Make use of colloquial language and feel comfortable responding to complete strangers.
Conclusion
With the special effects and filters used in video editing, the method of content creation and consumption has been revolutionized. Be it a shallow representation of raw creative outlet or commercial aesthetics, storytelling has now brought videos lifelike.
In knowing the different types of special effects, including visual effects, transitions, speed effects, and distortion, an editor can create quite a unique style in his/her work. Filters go a step further, converting raw footage into eye candy.
A smooth transition makes it possible to streamline the storytelling and spellbound the audience in continuity without a cut. Slowly monitored, speed ramping gives the impression of creating drama and intensity and makes more power in the future’s great moment. Greatly adds artistic depth, providing an exciting edge with a somewhat futuristic feel when created through distortion and glitch effects. Meanwhile sound effects go a long way toward immersion ensuring that soundscapes match the visual experience.